이 포스트는 2019년 6월 29일 토요일, SK플래닛 T아카데미에서 진행됐던 세미나에 가서 청강하고 작성했습니다.
현재 세미나 강의와 자료는 추후 이 곳에서 확인하실 수 있습니다.
노트 필기식으로 작성한 내용이기에, 존댓말을 사용하지 않은 점 참고하시기 바랍니다.
시간 관계상 급하게 진행하신 부분이 있었습니다. 노트 내용이 정확하지 않은 점 참고하시기 바랍니다.
AWS Lightsail 서비스로 실습 진행되었습니다.
* 발표자 : 김충섭 (퍼플웍스) 님
Kubernetes 실습 시작
TIP
alias k=’kubectl’을 입력하면 편하게 명령어를 입력할 수 있습니다.
kubectl
명령어
- apply : Apply a configuration to a resource by filename or stdin
- get : Display one or many resources
- describe : Show details of a specific resource or group of resources
- delete : Delete resources by filenames, stdin, resources and names, or by resources and label selector
- logs : Print the logs for a container in a pod
- exec : Execute a command in a container
- 기타 모든 명령어는 kubectl 입력하면 상세하게 볼 수 있다.
명령과 선언
1 | kubectl scale --replicas=3 rs/whoami |
1 | apiVersion: apps/v1beta2 |
- 위 두 코드는 같은 의미이다. 그러나 실제로는 선언하는 방식을 많이 사용한다.
특정 오브젝트 조회
- get
- describe
- api-resources : 단축 명령어도 볼수 있다!
1 | 서비스 목록 조회 |
Pod 생성하기
1 | kubectl run whoami --image subicura/whoami:1 |
guide-03/task-03/whoami-rs.yml
1 | apiVersion: apps/v1beta2 |
template
- selector에서 기재된 pod가 실제로 존재하지 않으면 template에 적힌 항목대로 수행한다.
ReplicaSet를 생성하고 Pod 만들기
replicaset
- Match 되는 pod를 찾는다는 것
- ReplicaSet -> Find pod by labels -> Create pod from template
그러나 실제로 많이 쓰지 않는다.
Deployment가 내부적으로 ReplicaSet를 사용하고 있고 Replica는 Pods를 만든다.
Deployment
- replicaset을 활용해서 개발용 환경을 구축하여 개발 전략을 수행할 수 있다.
구축
- 명령어 입력

- 확인

결과
- 기존 ReplicaSet에 있는 pods가 종료되고, 그 pods가 속한 ReplicaSet이 종료된다.
- 버전업된 새 ReplicaSet의 Pods를 실행하고 마찬가지로 해당 Pods가 속한 ReplicaSet은 생존한다.

즉, 자연스럽게 버전 업이 되는 모습을 확인 할 수 있다.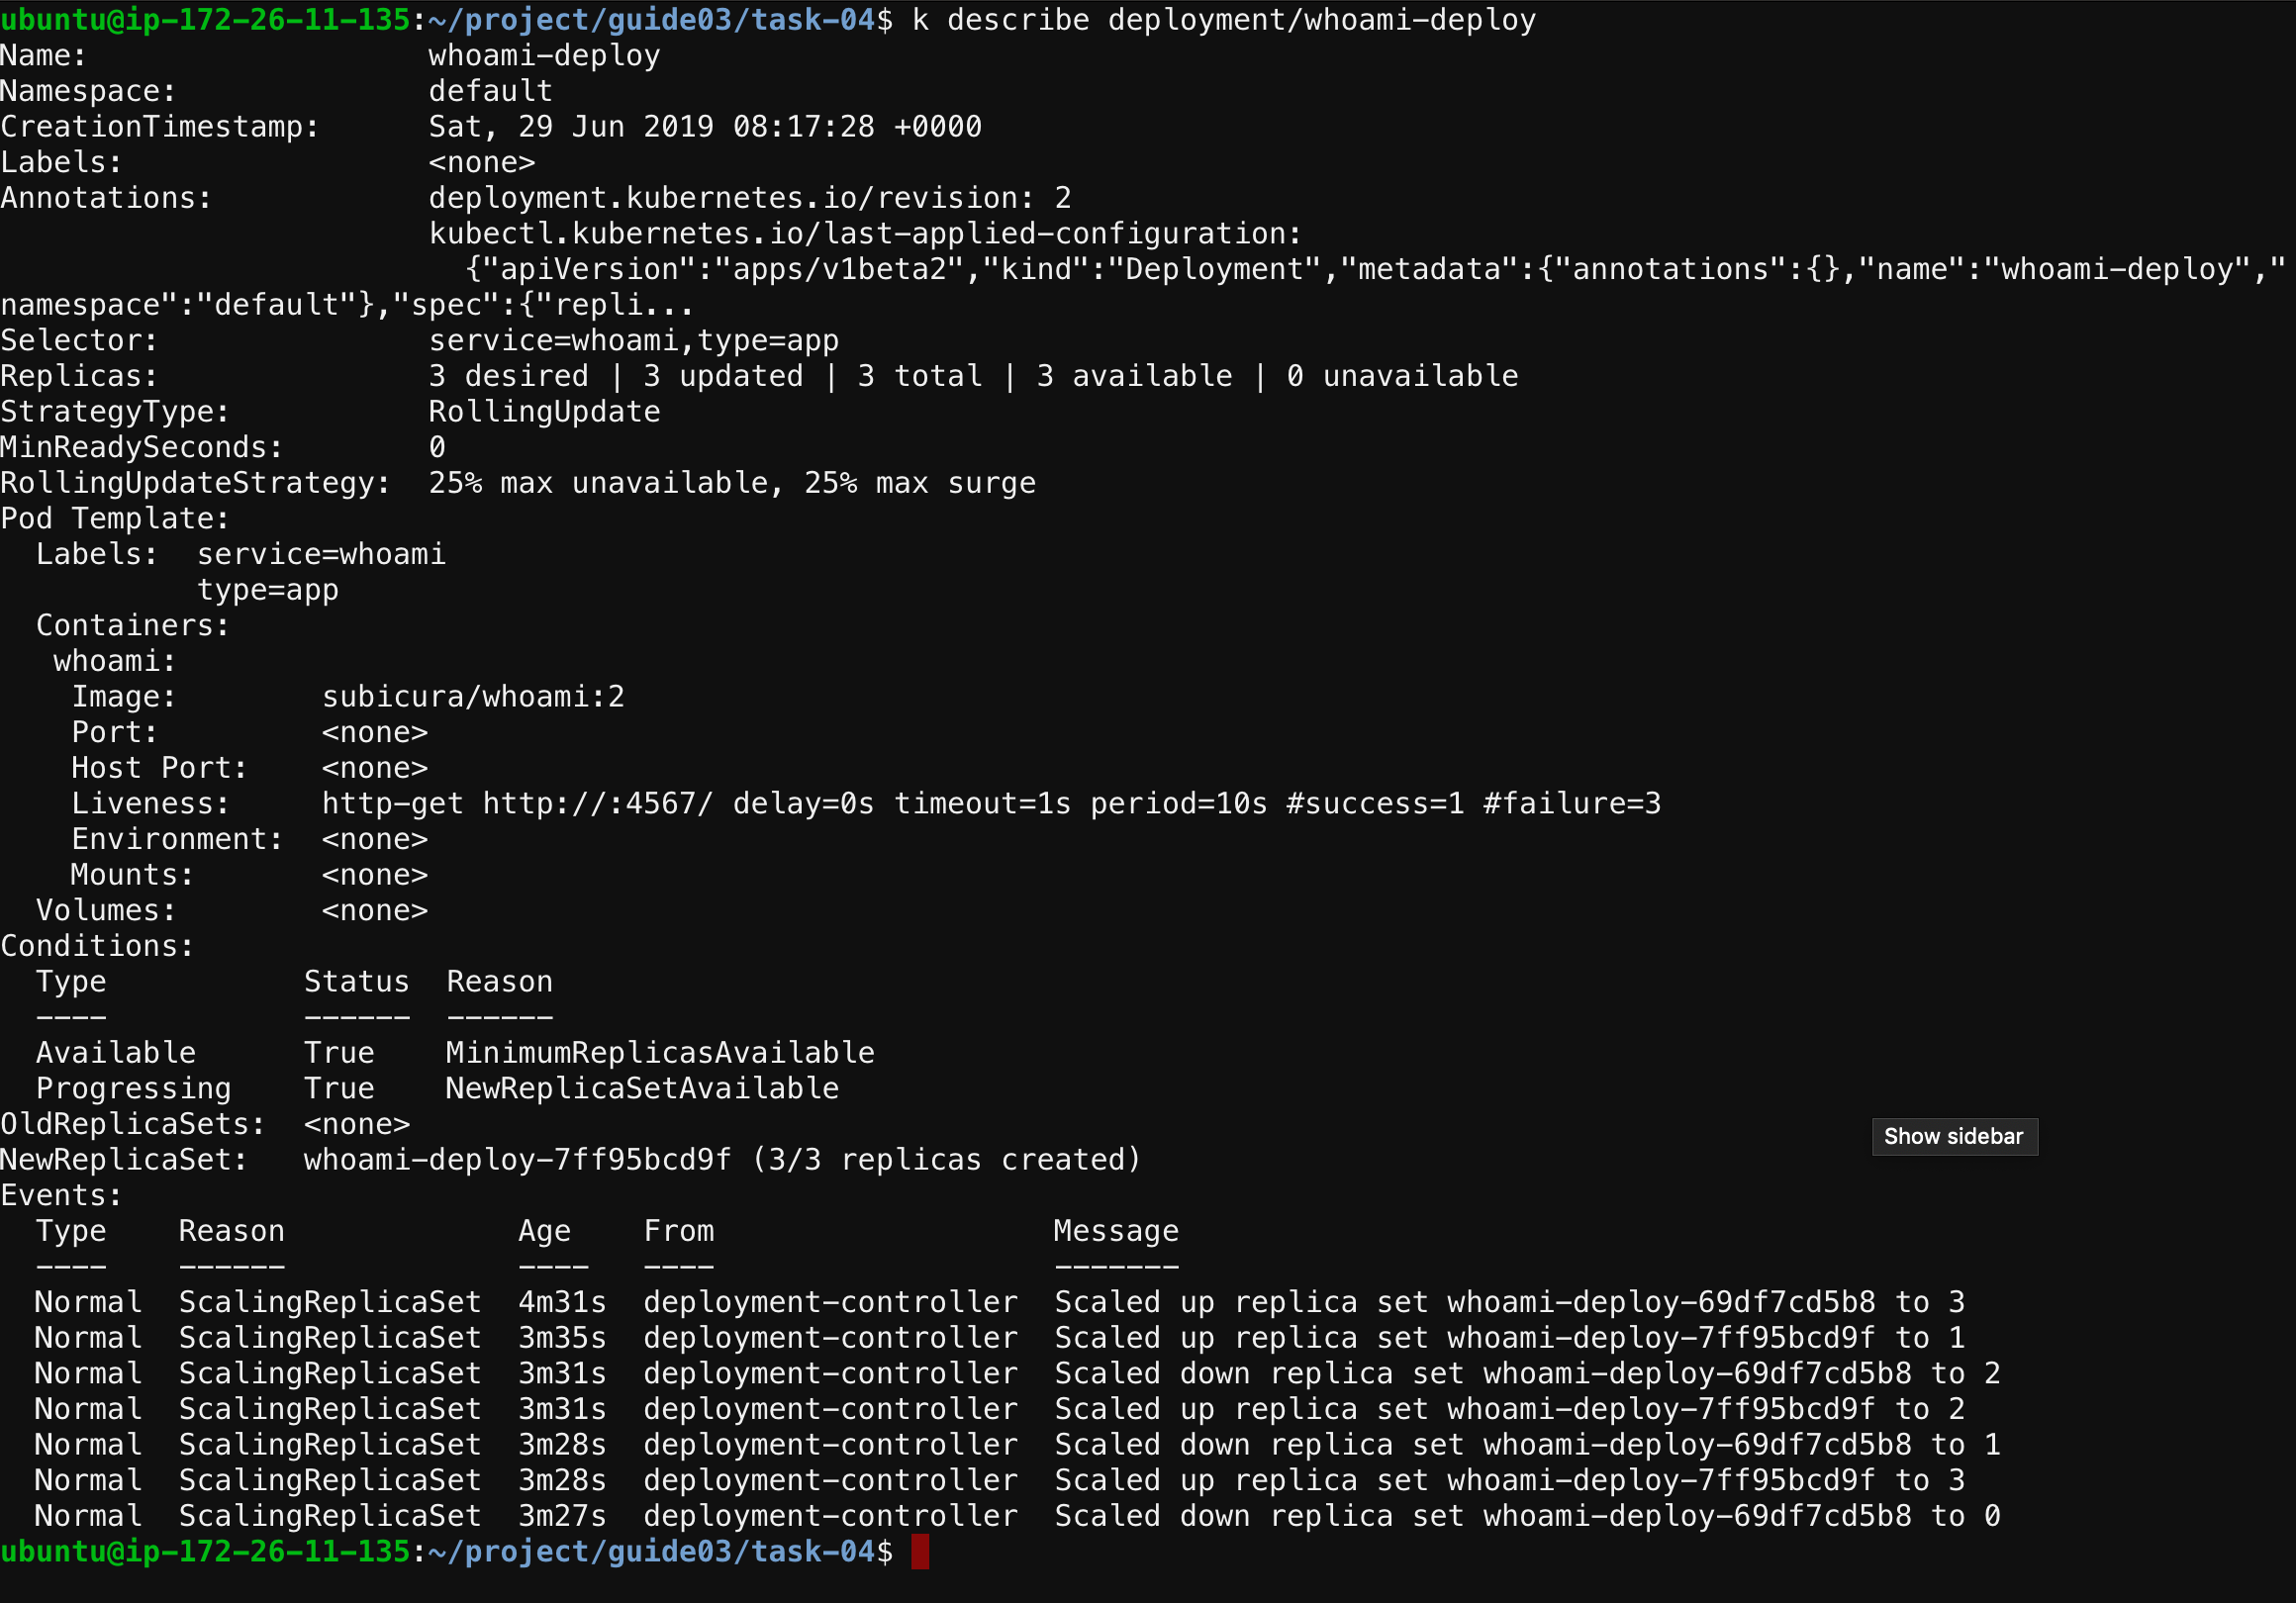
결론
아래 주석들이 다소 부정확할 수 있습니다.
1 | 해당 히스토리를 본다. |
Service
Kubernetes NodePort vs LoadBalancer vs Ingress? When should I use what? 라는 제목의 글을 보면 Service를 구성하는 방법으로 Nodeport, LoadBalancer, Ingress가 소개되고 있다.
이에 대한 간단한 구현 방법을 알아보자.
NodePort
- 모든 네트워크에서 통신되도록, 각 노드에 포트를 연다
예제
1
2
3
4
5
6
7
8
9
10
11
12
13
14apiVersion: v1
kind: Service
metadata:
name: my-nodeport-service
spec:
selector: # 이 코드에서 selector가 가장 중요함
app: my-app
type: NodePort
ports:
- name: http
port: 80
targetPort: 80
nodePort: 30036
protocol: TCPDevelopment 예제
1
2
3
4
5
6
7
8
9
10
11
12
13
14
15
16
17
18
19
20
21
22
23
24
25
26
27
28
29
30
31
32
33
34
35apiVersion: apps/v1beta2
kind: Deployment
metadata:
name: redis
spec:
selector:
matchLabels:
type: db
service: redis
template:
metadata:
labels:
type: db
service: redis
spec:
containers:
- name: redis
image: redis
ports:
- containerPort: 6379
protocol: TCP
apiVersion: v1
kind: Service
metadata:
name: redis
spec:
ports:
- port: 6379
protocol: TCP
selector:
type: db
service: redis
주의
반드시 하이픈 3개(---)를 작성해야 하이픈 위 아래 있는 2개 모두 실행됩니다.
실행 및 결과
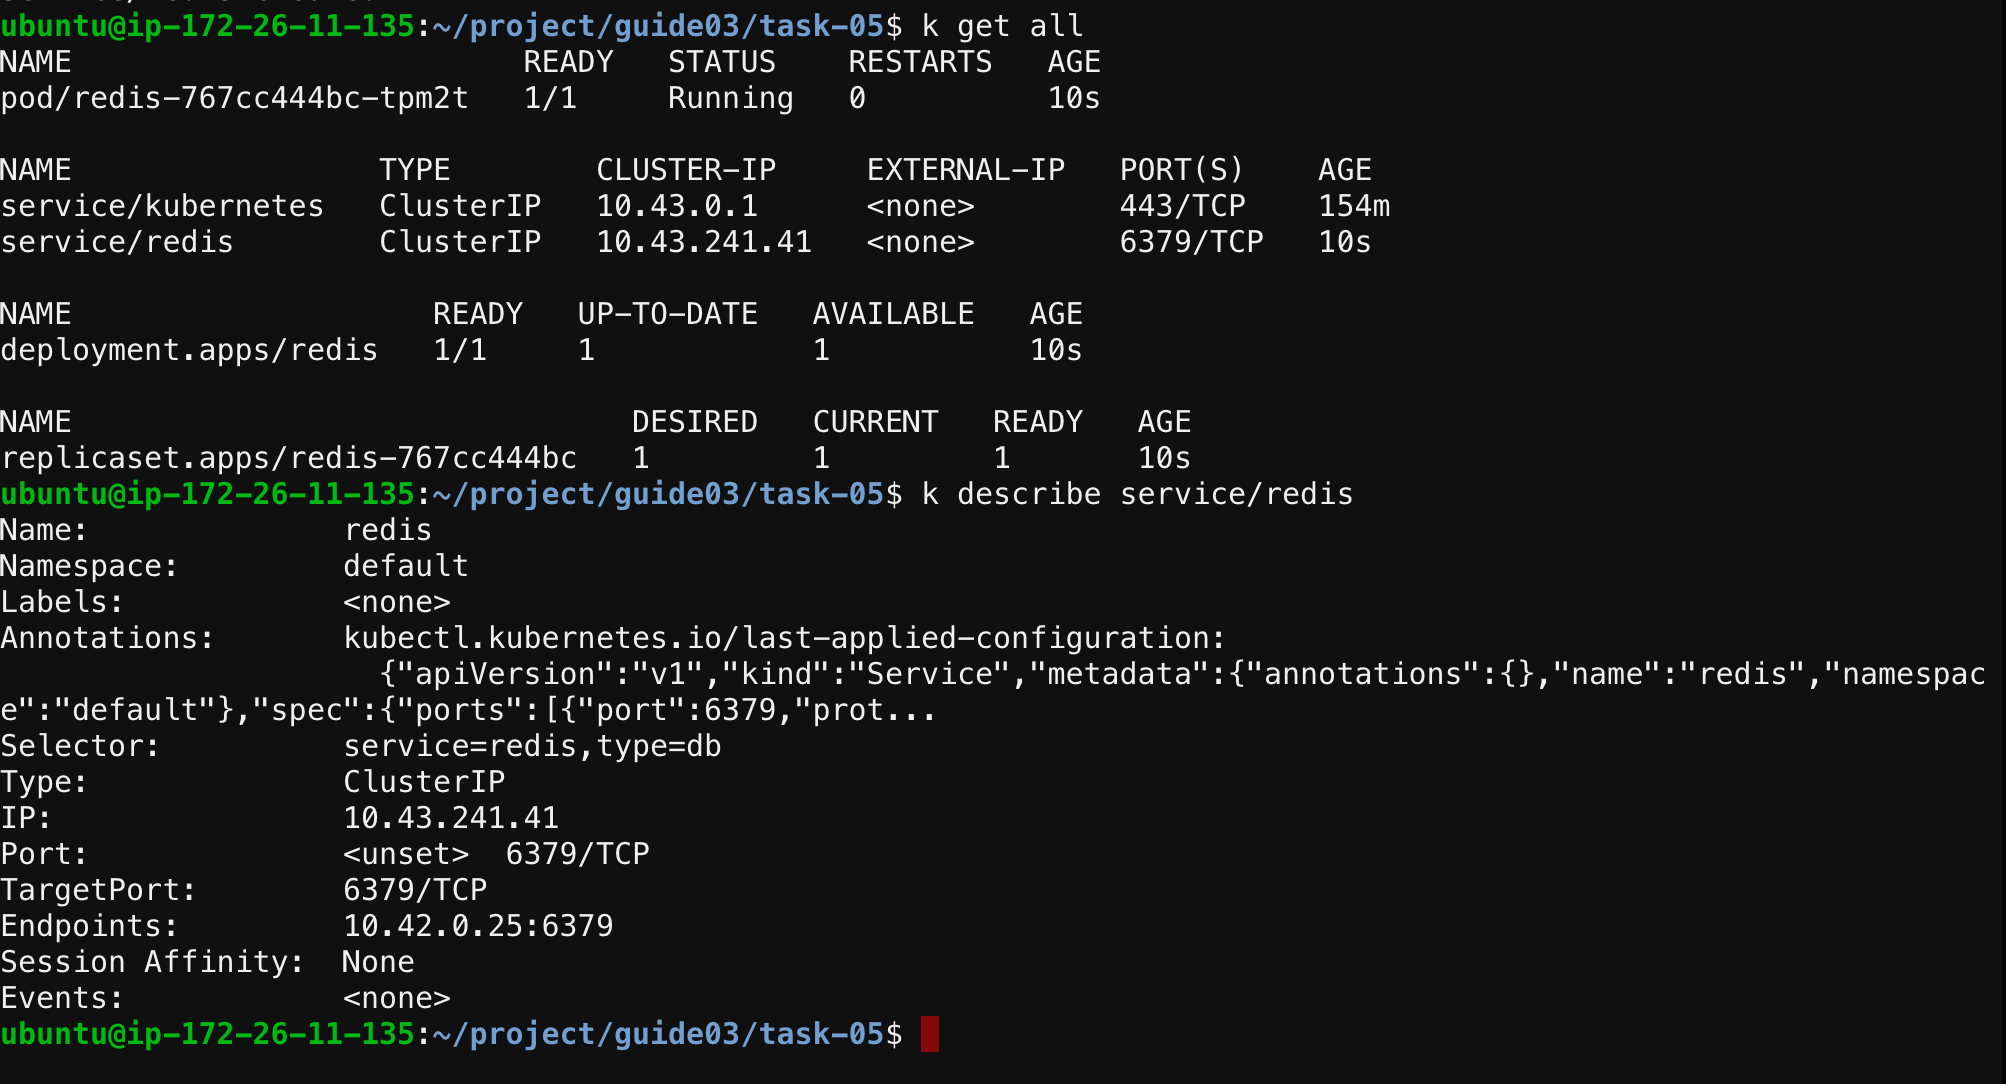
Load Balancer
Load Balancer는 AWS, GCP 에서 제공하는 서비스를 사용하는 것이 범용적이다.
각 노드에 로드밸런서가 생기고 그 로드밸런서로 접속이 된다.
Ingress
- nginx-ingress를 먼저 설치함 (K3S는 내장)
ip를 기반으로 도메인을 쉽게 사용할 수 있는 방법 (입력과 동시에 바로 적용)